How to Add a Customer
Watch the video below for instructions on how to add a new customer. You may also scroll down the page to see written instructions that cover the same steps.
Creating a new customer in the system is a four step process:
- Create the Customer Code and Info.
- Add Stores, if the Customer has more than one.
- Create Customer Financials.
- Create Customer Sales Terms.
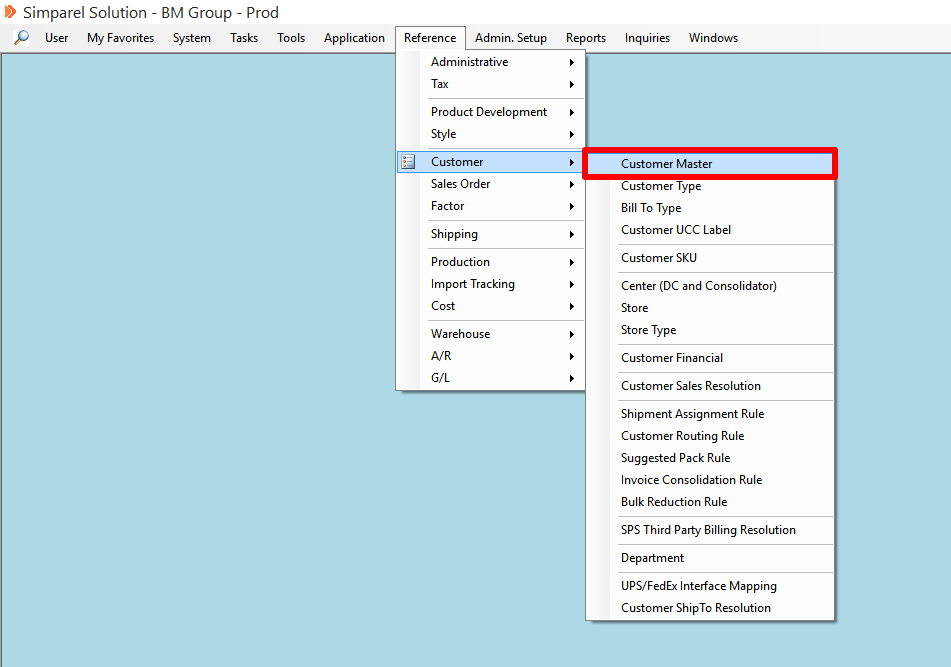
Open the Customer Master
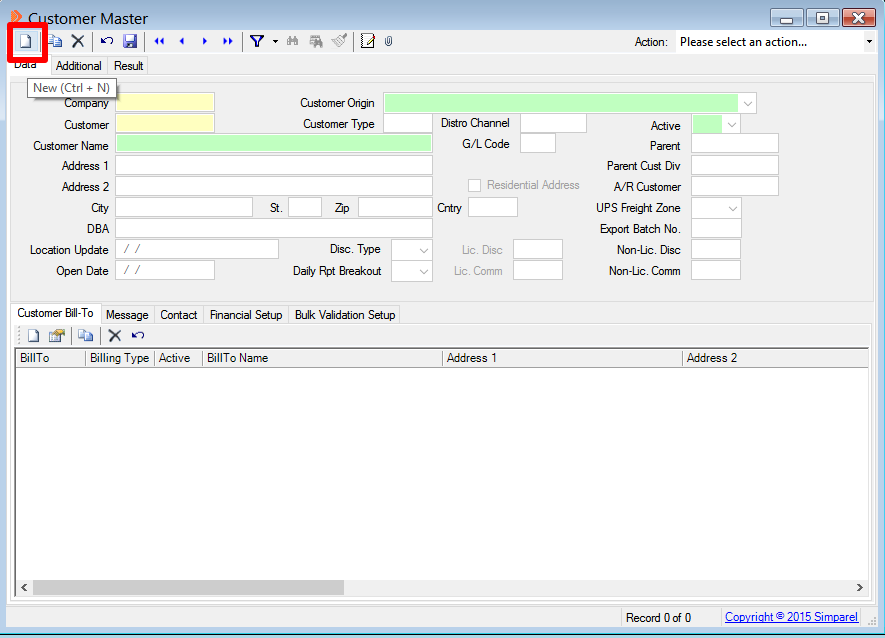
Click New Record
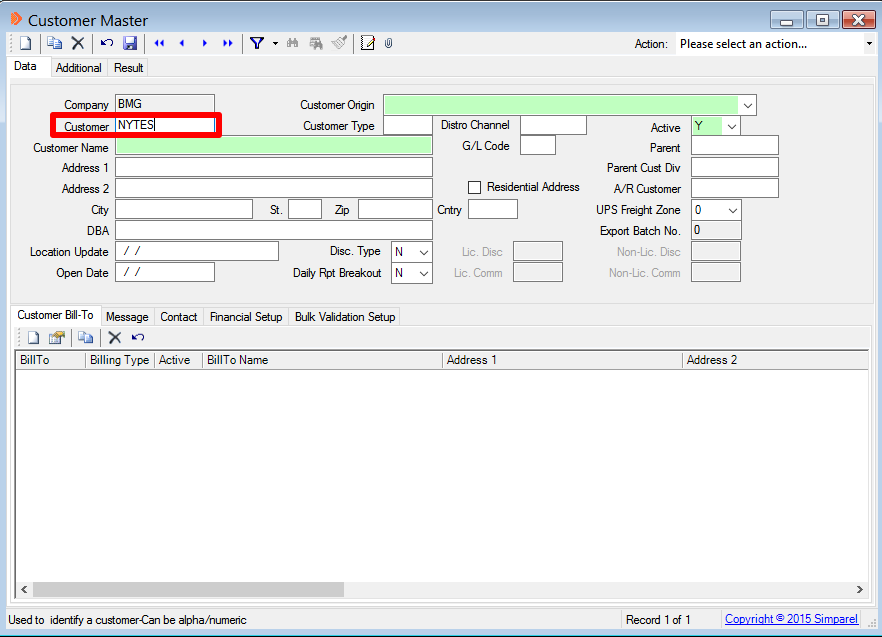
Assign a Customer Code
This is a unique ID for the customer. It should be 5 characters long.
You can type the State and then the first three letters of the customer's store name.
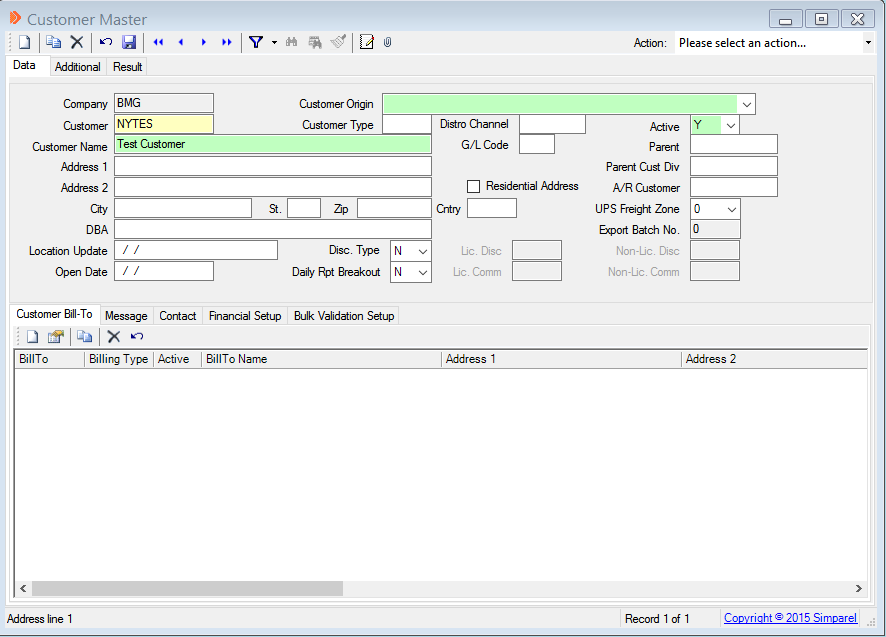
Add the Customer Store Name
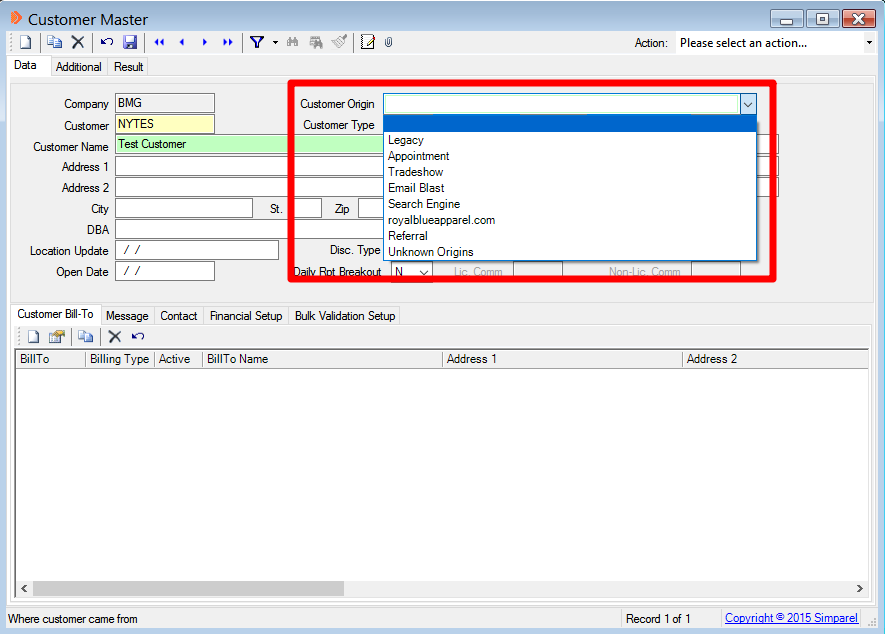
Type the Customer Origin
Select where you got this customer from. For example, you can select Tradeshow or Appointment.
This is helpful for marketing to know what is the best area to search for new customers.
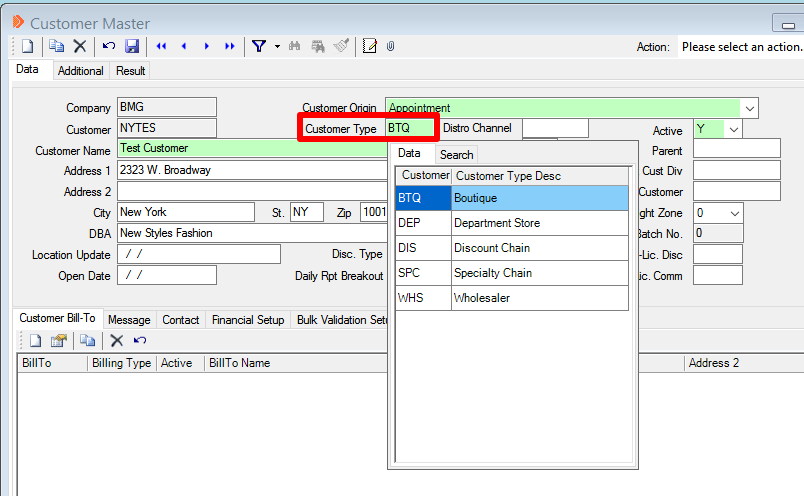
Add Customer Type
Help us categorize our customers by selecting the Customer Type.
Right click on the rectangle next to Customer Type and select what kind of business the customer owns.
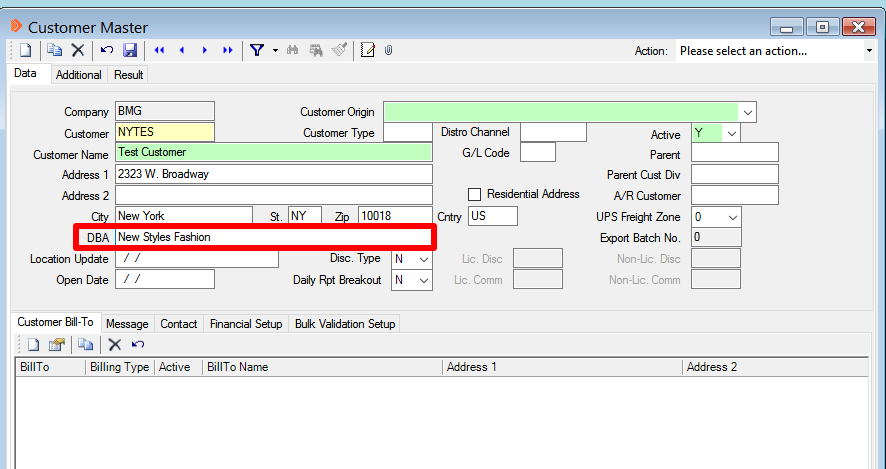
Add Customer Address
If the customer's Store and Bill To address are the same, then fill out that information. Note the country code for the US is US.
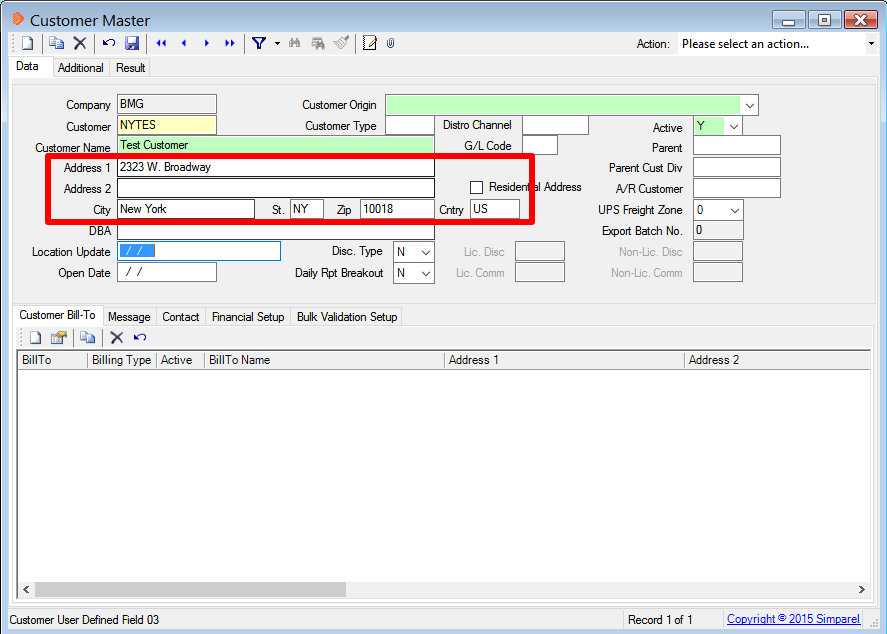
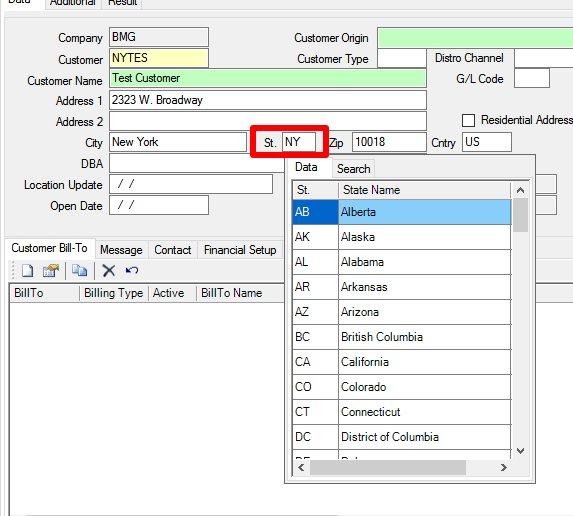
If the customer's address is not in the US, then right click on the rectangle next to State and select the right State or Province.
Also, if the address is not in the US, right click on the rectangle next to County and select the correct country code.

Fill in DBA
If the customer's business has a different name, fill that in next to DBA (Doing Business As).
Will the Customer be using Factor for payment?
If yes, continue down the page.
If no, then click on the button below to continue:
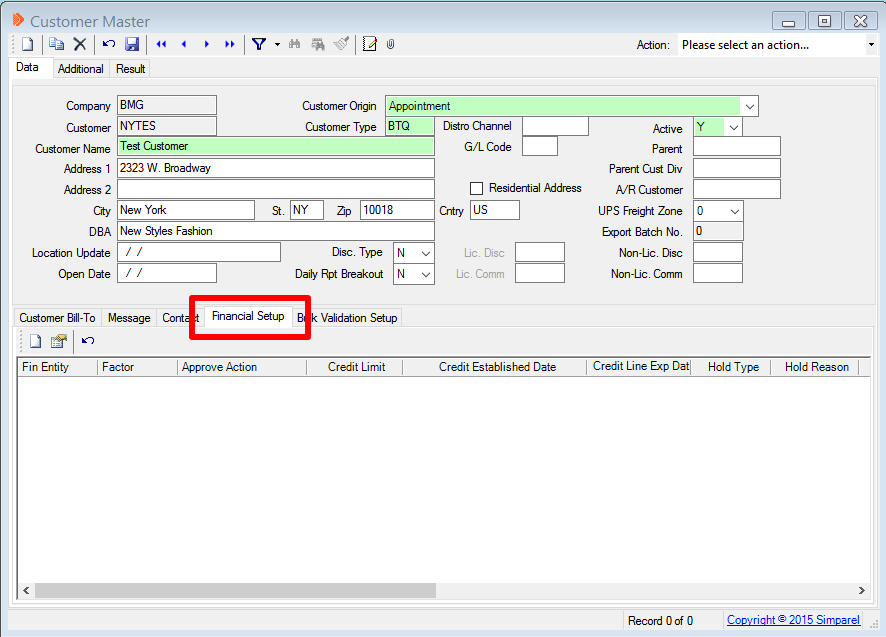
Setup Customer Financials
Click on the tab called Financial Setup.
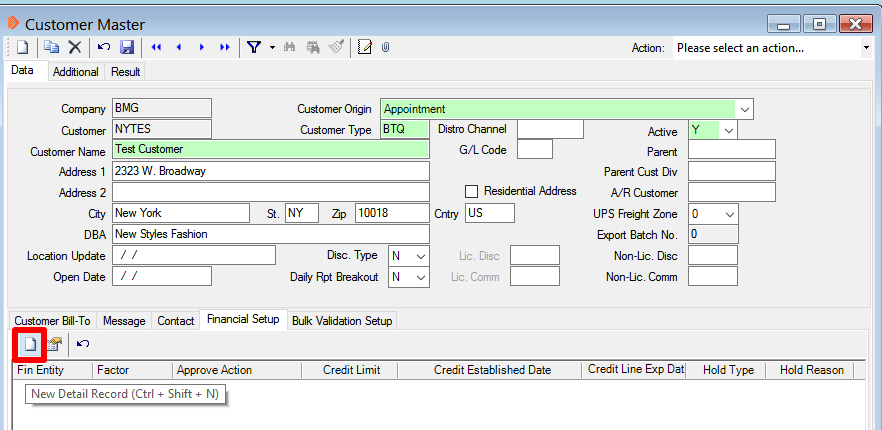
Create New Customer Financial Record
Click on the New Record button.
Select Factor
A Customer Financial window will open after you click New Record.
Right click on the rectangle next to Factor and select CITB for Royal Blue customers. Select CITA for private label customers.
